This lesson is still work in progress - there will be more added to it soon
Lesson 7 - Autonomous Code w/ Choreo
Introduction to Autonomous
An FRC match is divided into 2 segments: a 15 second autonomous period and a 2 minute 15 second teleoperated period
In the autonomous (auton) period, the robot will perform a routine without any driver input
For the 15 second autonomous period, the code team, in collabration with the strategy team, is responsible for making autonomous routines with the help of software
The goal of this lesson is for you to be able to make any auton routine that you could possibly make. Let's get started!
Basic Physics Knowledge
In order to use Choreo, you will need some basic physics knowledge. If you took physics, skip this section
| Mass | How much matter is in something |
| Velocity | The change in the position of something |
| Angular Velocity | The change in the angle of something |
| Acceleration | How much the velocity changes over a period of time |
| Moment of Inertia | How hard it is to spin something |
Choreo Set-up
Choreo is a FRC path-planning application that is different from most in that instead of drawing the autonomous, you feed the the characterstics of the robot and the desired constraints of the path and it'll give you the mathmatically best path.
Installation Process for WPILib 2024
Click here and scroll down to install the appropriate version of Choreo for your OS. Please install this version if you're working with WPILib 2024.
You will see an app named "Choreo" installed.
Installation Process for WPILib 2025
Choreo is included with the WPILib 2025 installer. After installation, open the "2025 WPILib Tools" folder on your desktop, then open "Choreo 2025"
Note that if you have both a standalone installation and a bundled installation of Choreo, the standalone will be called "Choreo" and the bundled will be called "Choreo 2025". They are separate copies of Choreo. Don't get them mixed up.
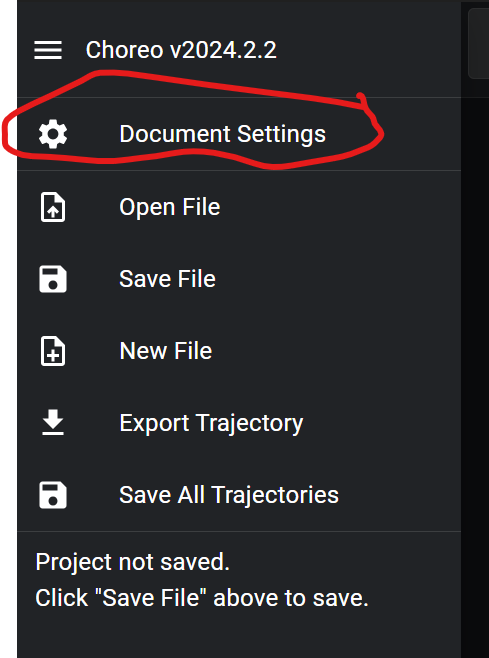
After that, go to the hamburger menu, then hit "Document Settings"
Enter the number and the units you want to use.
Here are the defintions, straight from the documentation, that you need to worry about.You do not need to memorize this. It's in the documentation and in the table below
| Setting | What it is |
|---|---|
| Mass(kg or lb) | The mass of the robot with battery and bumpers |
| Moment of inertia(kg * m^2 or lb * ft^2) | The robot's moment of inertia around its vertical axis. Higher moment of inertia means it is more difficult to rotate the Here is a link on how to find it |
| Bumper Width(m or in) | The width of the robot with bumper on |
| Bumper Left (m or in) | The length of the robot with bumper on on the left side of the robot. |
| Bumper Right(m or in) | The length of the robot with bumper on on the right side of the robot. |
| Wheelbase(m or in) | Front-back distance between wheel-centers |
| Trackwidth(m or in) | Left-right distance between wheel centers |
| Wheel radius(m or in) | This is very hard: it's the radius of the wheels |
| Gearing(unitless) | The ratio of drive motor rotations to wheel rotations |
When you open Choreo, you'll see this screen

Don't worry about the motor max speed and motor max torque. Use the motor calculator, where you input the drive motors and current limit and those two numbers should automatically be calculated.
You now need to create the .chor file for the project. In the build season, it'll be already created for you.
Go to the hamburger menu, hit "Save File"
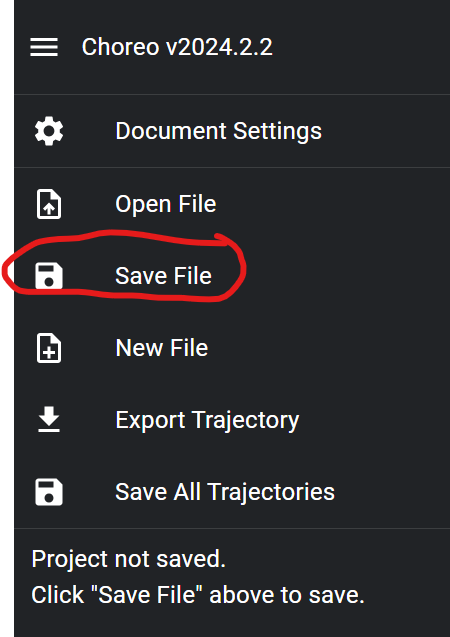
Save the .chor file where in deploy/choreo folder. After the creation, you will see a Choreo.chor file and a New Path.traj file.
Name the .chor file Choreo.chor. This is the standard convention.
The .chor file is where the project configuration is stored. The .traj files is where information about the actual paths are stored.
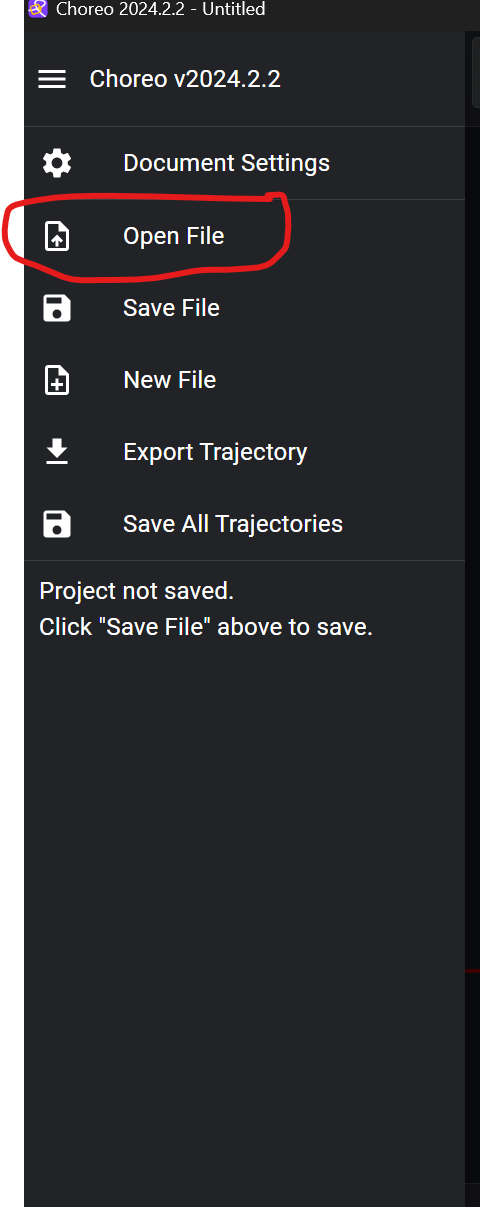
When you reopen Choreo, to open the .chor file associated with the project, click on the hamburger menu, then click on "Open File". Usually, it should open automatically
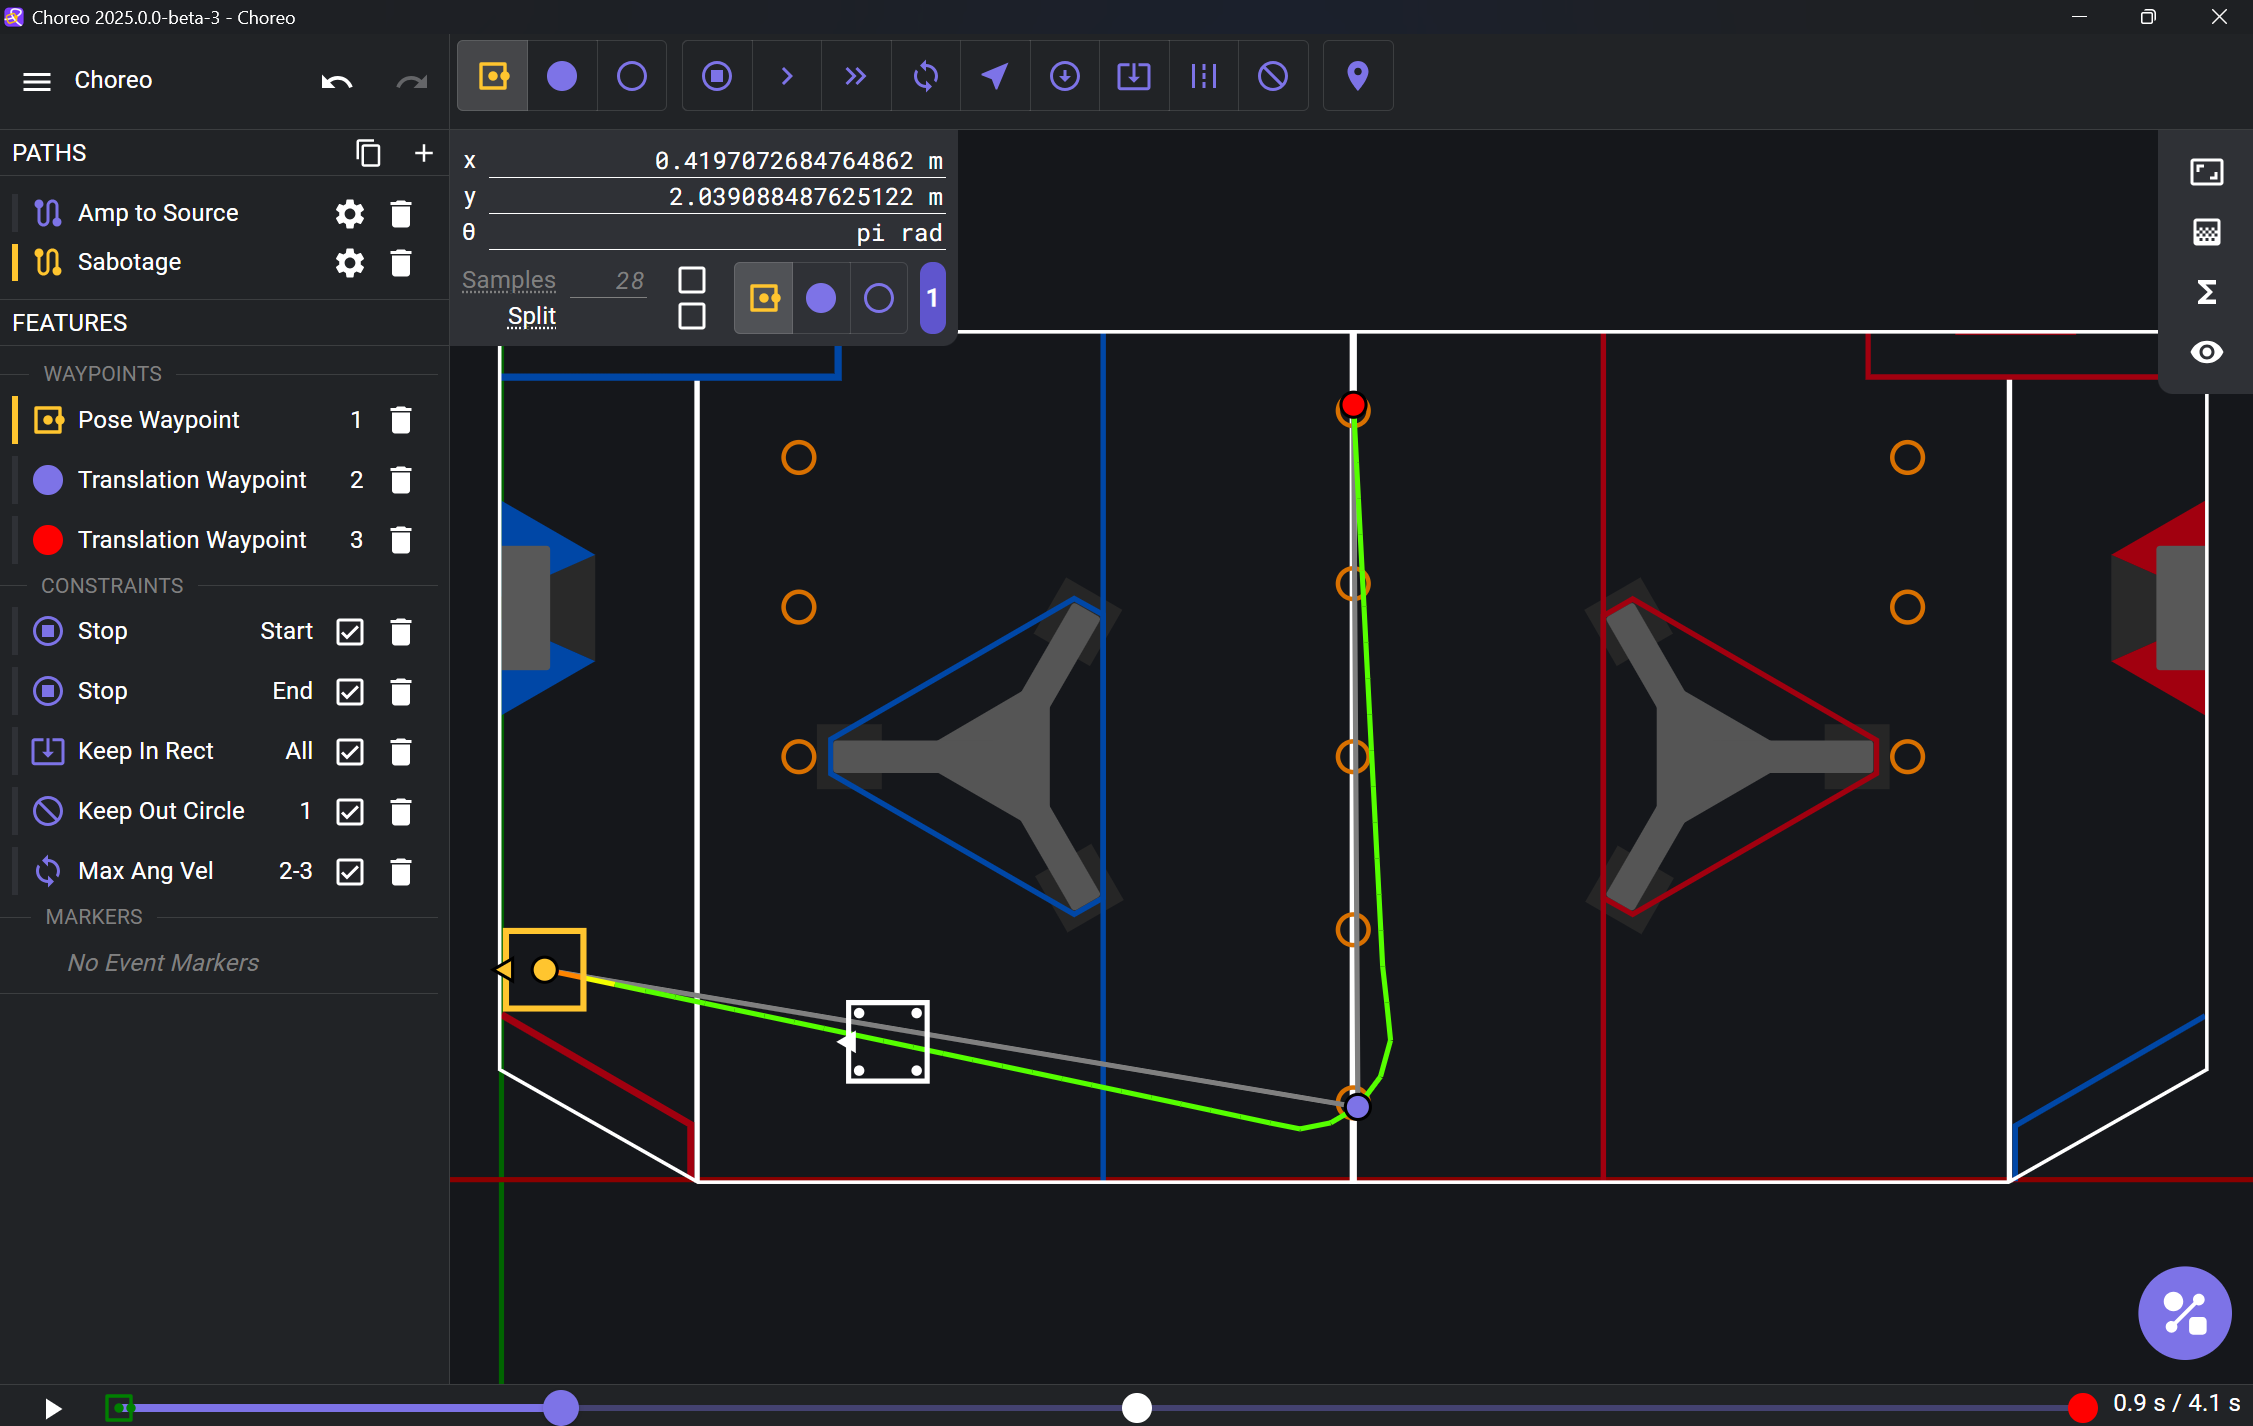
And here is an example of a complete Choreo project
You can also input mathmatical expressions into Choreo instead of numbers.
You can do this in whatever units it wants: Choreo will do the dimensional analysis for you.
Choreo will save the expression you inputted.
You can also define variables in Choreo.
Variables are either single numbers, or aggregate variables. Aggregate variables allow you to store the x, y, and heading of a pose in one variable.
Waypoints
| Waypoint type | Information |
|---|---|
| Pose Waypoint | A waypoint that includes a translation and rotation. It requests the x, y, and rotation in radians |
| Translation waypoint | A waypoint that only has a translation. |
| Empty waypoint | A waypoint that has neither has a translation nor a rotation. It's there if you want an event to happen somewhere in the general vicinity of the empty waypoint |
| Stop point | A point where the robot will stop. If the "split .traj file at stop points" setting is enabled, Choreo will generate a separate .traj file for the trajectory between each stop point. Note this feature is no longer tied to stop points. |
Each trajectory has waypoints which are numbered from 1 onwards. The robot must pass through any pose and translation waypoints you declare.
You might be wondering what the point of empty waypoints are. It's there in case you want to put a constraint somewhere in the ballpark of that waypoint, as that will make it a numbered waypoint which you may apply a constraint to.(Don't worry, we'll talk about constraints later)
Constraints
A constraint is a restriction that the trajectory must respect.
There are many types of constraints
| Constraint | What it does | Scope |
|---|---|---|
| Waypoint Velocity Direction | Restricts the angle, in radians, that the robot travels | Waypoint Scope |
| Waypoint Zero Velocity | Restricts the waypoint to stop at the point | Waypoint Scope |
| Max Velocity | Restricts the velocity in the waypoint or segment | Waypoint and Segment Scope |
| Max Angular Velocity | Restricts the velocity in the waypoint or segment | Waypoint and Segment Scope |
| Keep In Zones | Keep the robot in the keep-in zone. Keep-in zones are either circles or rectangles. | Segment Scope |
| Keep Out Zones | Keeps the robot out of the keep-out zone. Keep-out zones are circles | Segment Scope |