Introduction to GitHub and Visual Studio Code
GitHub Basics
Github is a web-based platform used for source control and code collaboration.
Software developers use Github to manage their projects, review code, track bugs, etc.
Key features of GitHub that we will use include:
- Repositories: Storage spaces where your projects live. Each repository can contain multiple files and folders.
- Branches: Parallel versions of a repository. They allow you to work on different features or fixes without affecting the main codebase.
- Pull Requests: Proposed changes to a repository. They facilitate code review and discussion before merging changes into the main branch.
- Issues: Tools for tracking bugs, enhancements, and other project tasks.
In order to use Github, you will need to make an account at:
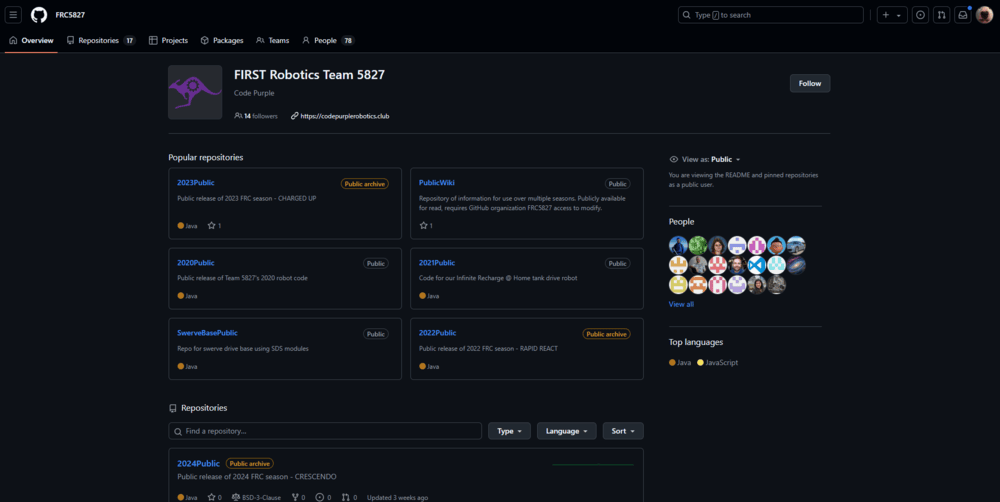
Github WebsiteAll of our code is stored in the FRC5827 Organization (to be added, ask a code lead):
Git Setup
In order to use Github with Visual Studio code, you will need to install the Git software:
Git Download PageSimply click on "Download for Windows" and follow the installation instructions
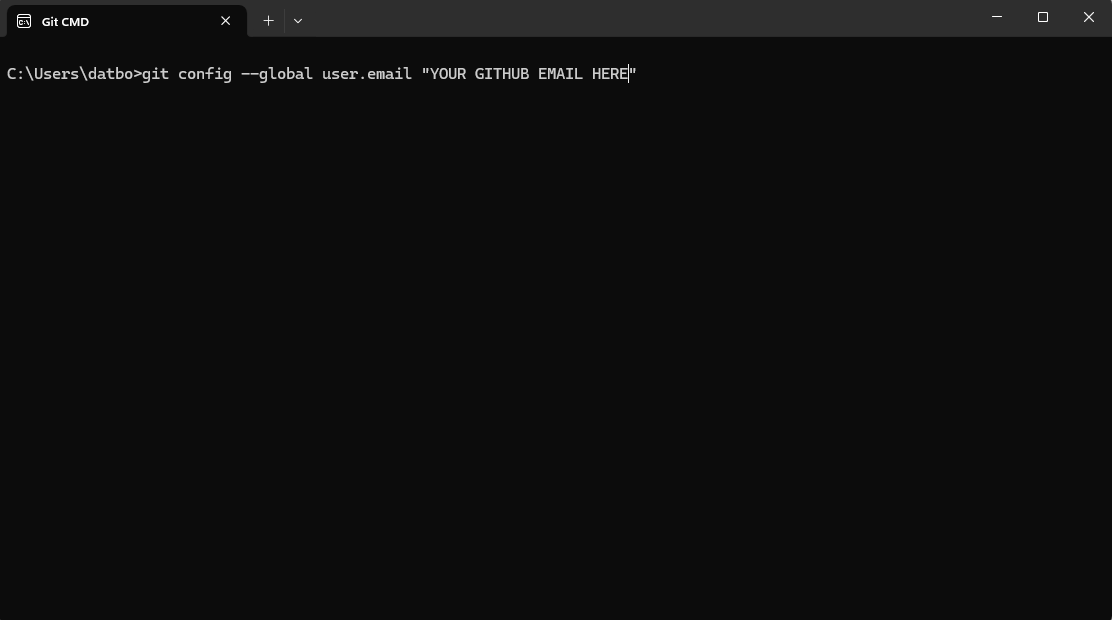
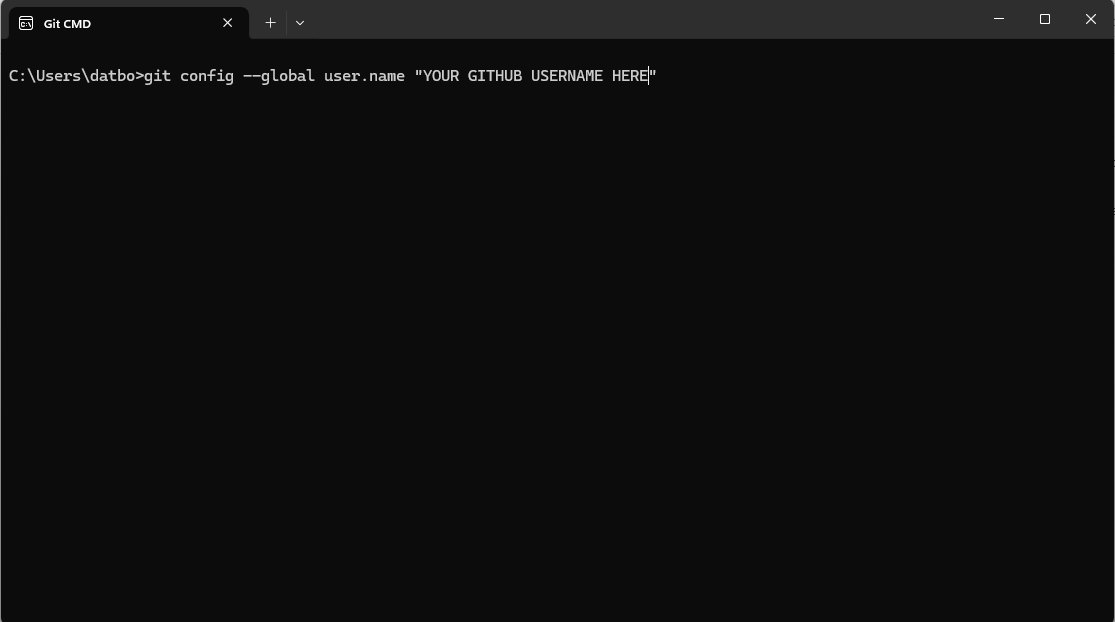
Once Git is installed, you will have to configure your username and email which you used for github.
To do this, open the Git CMD app on your computer:

Then type in the two following commands:
After you are done configuring Git, open Visual Studio Code and we'll get started on setting up a repository.
Using Github with Visual Studio Code
Part 1 - Repository Basics
Instructions for installing Visual Studio Code and WPILib are in Lesson 1, if you still haven't installed them.
For the purposes of this lesson, regular VSC will work, but it is highly recommended to install WPILib anyway for future lessons.
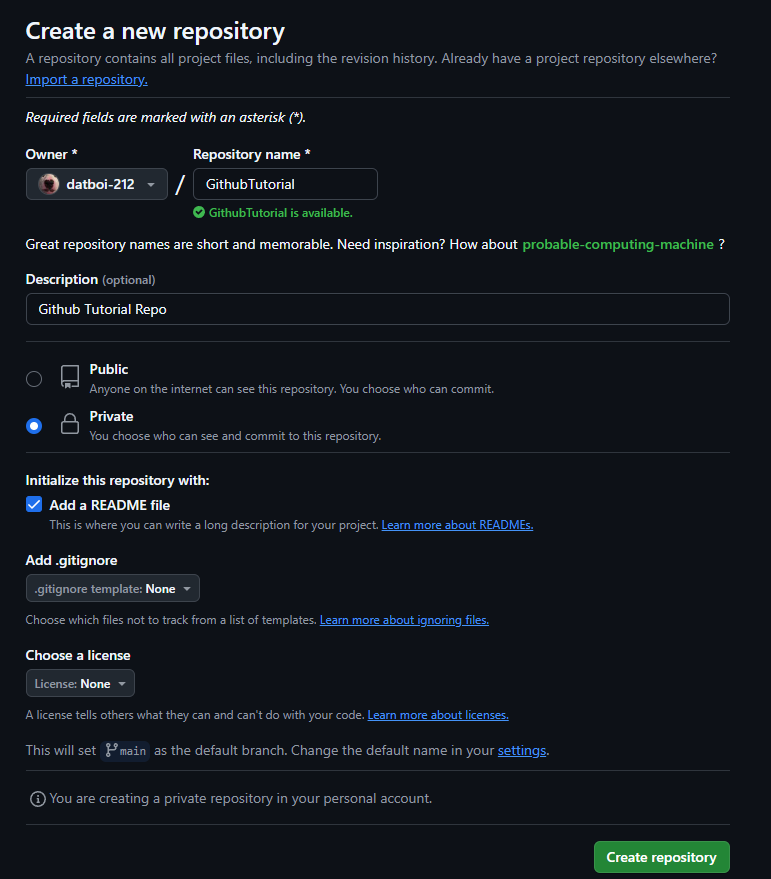
To set up the repository we will use for this lesson, sign into Github and click on the new repository button:

Once you click on it, you will be taken to this screen:
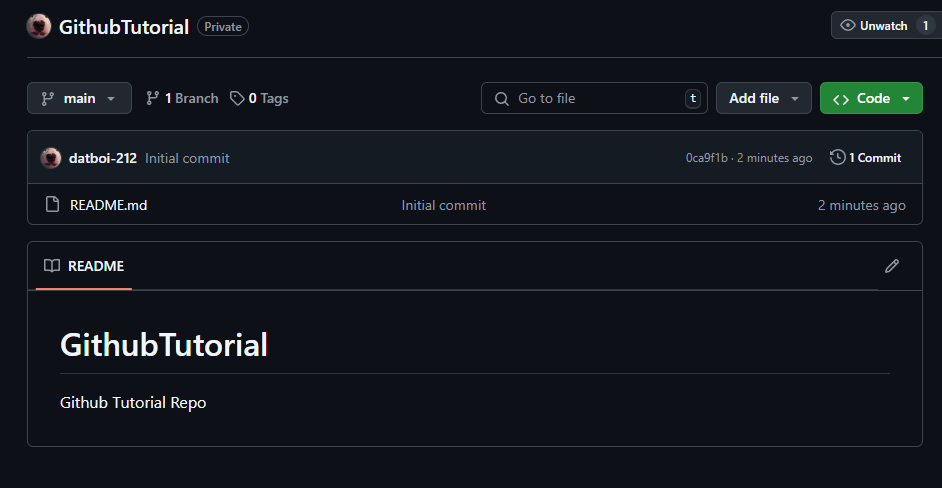
After you hit "create repository," you will be taken to this page:
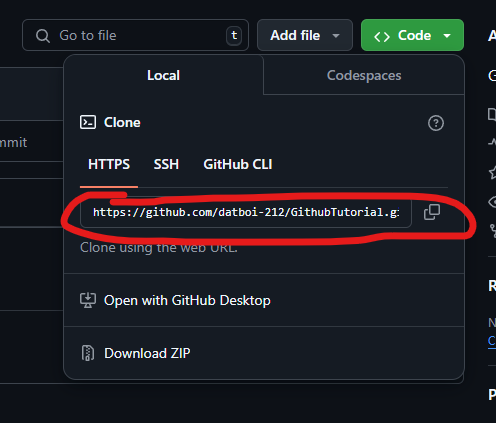
In order to access the repository in Visual Studio Code, you will need to clone it.
You can do this by clicking on the green "Code" dropdown and copying the link under "HTTPS":
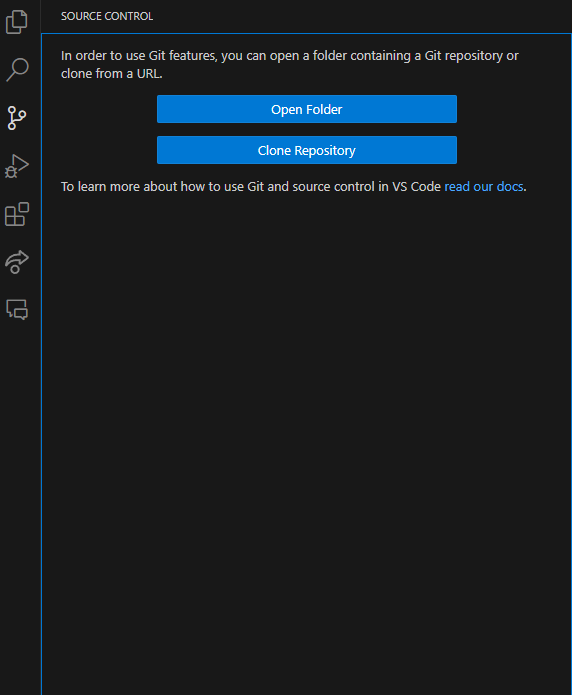
Then, open Visual Studio Code and click on the "source control" icon on the left bar, then click on "clone repository":
Inside this command popup, paste the link you copied from Github and hit enter:

It will then prompt you to select a location for the repository folder - any location not in OneDrive works as long as you can access it easily.(OneDrive causes issues with robot code. For projects not related to robot code, OneDrive is fine)
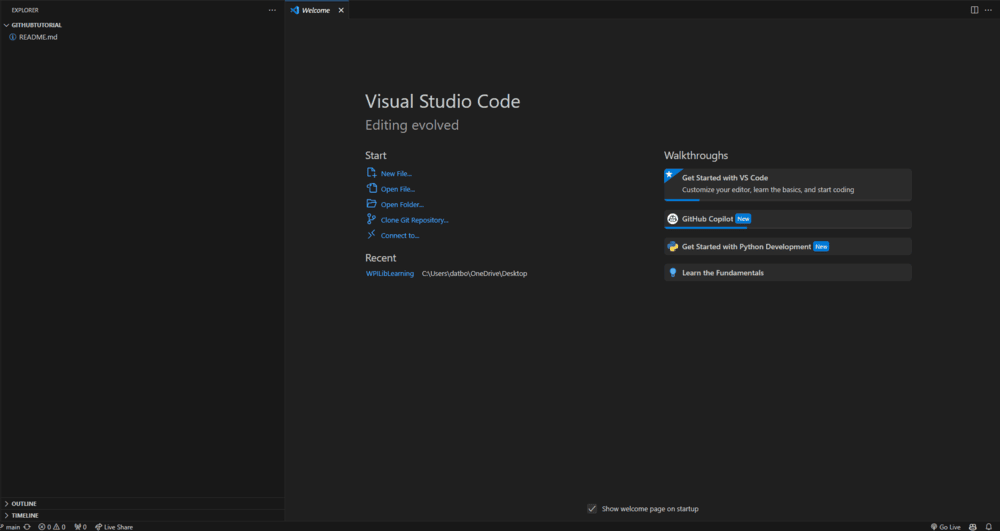
Once it is cloned, you will have an almost empty editor which should look something like this:
Once you clone a Github repository, you get your own workspace of all the files in the repository.
Whatever changes you make will not automatically be applied to the actual repository in Github.
Instead, you will need to "commit" your changes for them to be fully saved in the repo.
To test this, lets make a simple txt file and push it to Github.
In the explorer tab on the left, click on the first icon to make a new file:

You can name the file whatever you want, as long as you have the ".txt" at the end to ensure its a text file:
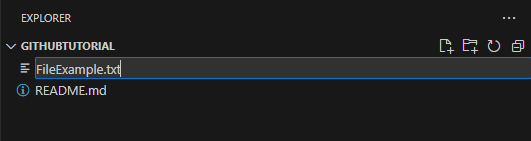
The file will open, and you can type whatever you want inside of it.
In order to commit this file to Github, navigate to the source control tab on the left again:
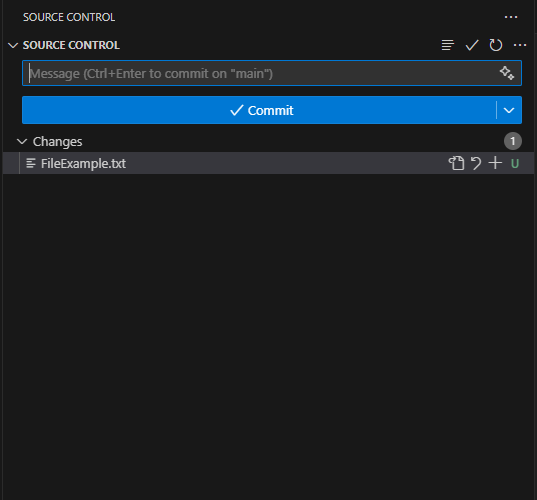
Inside the text box is where you would include your "Commit message".
This is a short summary of what is inside your commit, and should be no longer than 2 sentences:

After your commit message is finished, hit the commit button.
After it stages (which means it is ready to be pushed to Github), click the button again to fully push it.
Once its fully commited, go to the repository page and check if the commit went through:
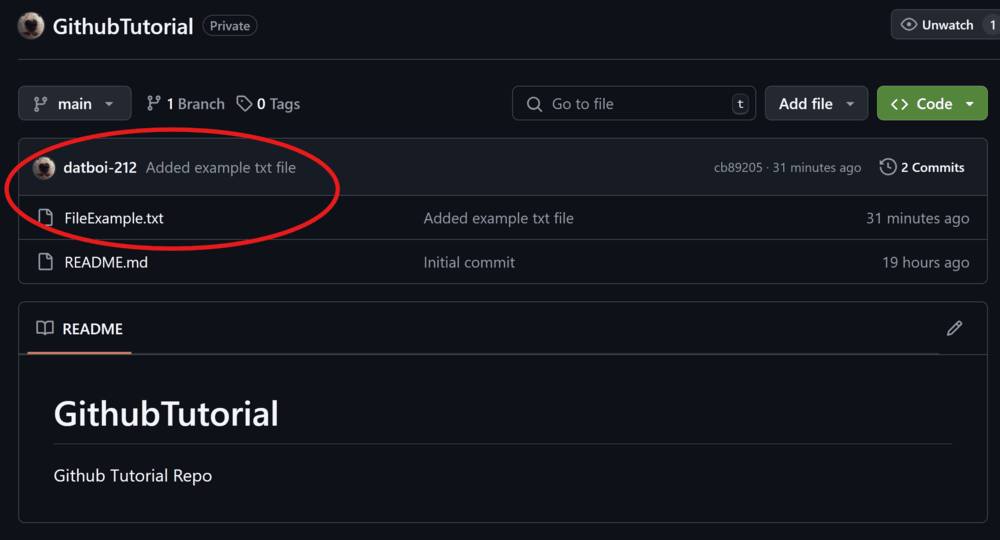
That is how you commit things to a repository. You can commit almost anything as long as it is valid (for example, images, folders, etc.)
Part 2 - Branches
Sometimes, when you have multiple people working on one repository, there can be Merge Conflicts.
These occur when two different users make changes to the same line and commit to the repository, and Github is confused on which version to keep.
To avoid these, and be able to fix them easily if they do occur, we use branches.
Consider the repository as a big blue colored ball of clay - at first, the whole repository is together in one ball (the main branch).
Once a user makes a new branch, its like taking out a smaller piece of clay out from the bigger clay ball.
If they make a change to the smaller piece of clay, like dyeing it red, it will not effect the bigger ball of clay.
However, once they put the small ball back into the big ball (merging branches), the ball will have both red and blue in it.
In order to make a new branch, navigate to the repo home page and click on the Branch button:
Once you click it, you will be taken to a screen where you can see all the current branches in the repository. Click on new branch for now:
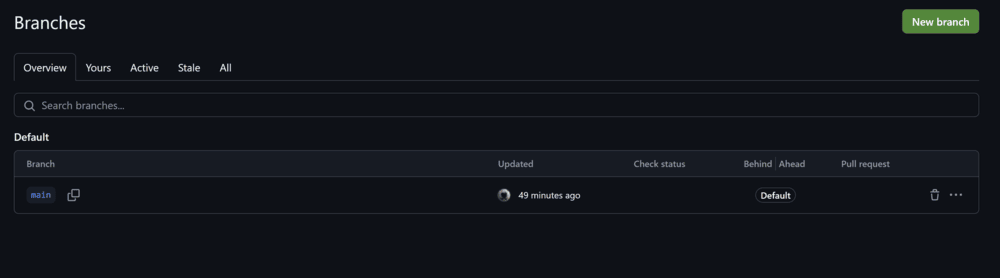
After you click new branch, you will be taken to this screen and there are a few things you need to know:

Your branch name should either be your name, or whatever you are planning to work on in that branch.
The source is whatever branch you want you want to create your branch from.
For this example, the only branch we have right now is the main branch. If you create it from the main branch, your branch will be an exact copy of whatever is commited to the main branch right now.
Now, hit the green create branch button. In order to access this branch in Visual Studio Code, navigate to the Source Control tab on the side and click on the three dots:
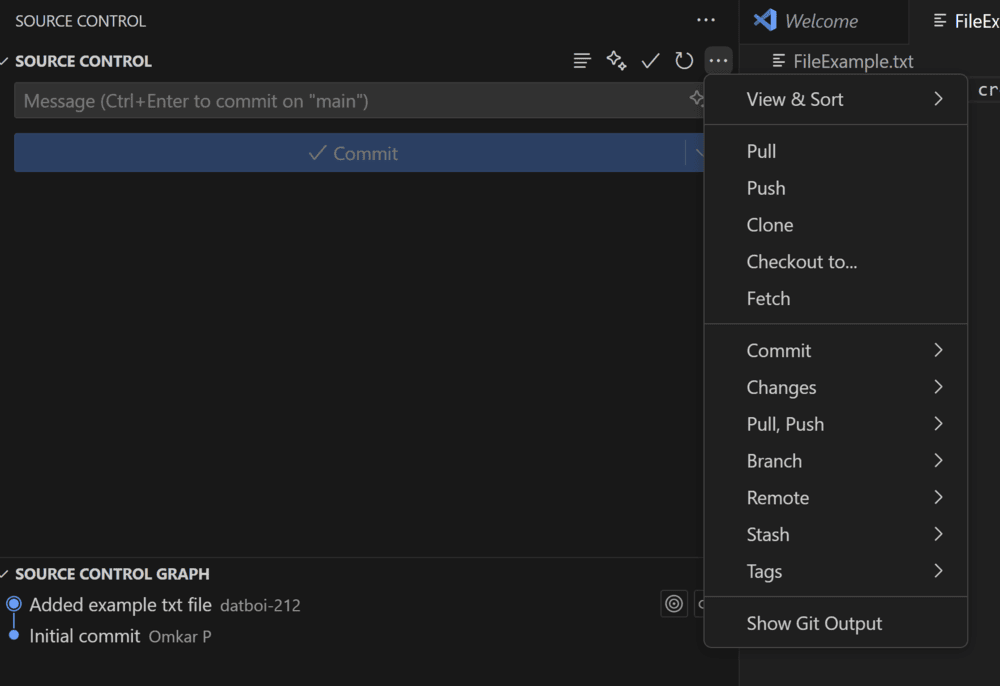
In order to get the new branch onto your VSC, you have to click the "Fetch" option.
This is a shortcut to run the "git fetch" command, which checks for updates across the whole repository without actually pulling them to your computer.
After git fetch is done running, click on the "Pull" option to pull the new branch to your computer.
Once it is done pulling, navigate to the bottom left hand corner of your Visual Studio Code and click on the "main" button with a source control icon next to it:

It will open this menu, where you should see the new branch that you've created:

Click on the branch you just made and it will transfer the workspace to be in that branch.
Now, add a new file and commit it to this branch.
This is done in the same process as we outlined previously, scroll up if you need a refresher.
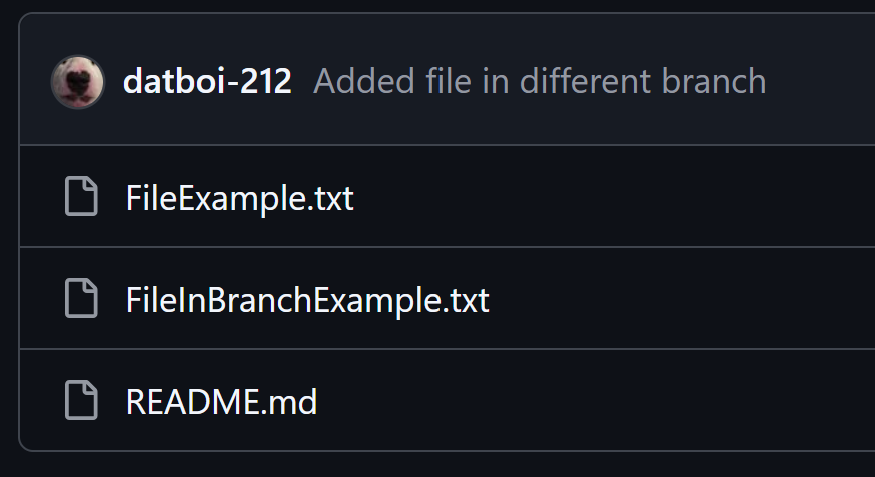
Once it has been committed, go back to the repository page and click on branches and click on the branch you made.
You will now see that the new file you just made exists in the branch but not in main:
Part 3 - Pull Requests and Merging
Eventually, your code will be merged into the main branch for the final product.
Howver, merge conflicts can occur during the merge of two branches.
These are when someone makes changes to the same line in a different branch and tries to merge them into your branch.
To avoid these, we will show you how to create a pull request and make sure someone reviews your changes first.
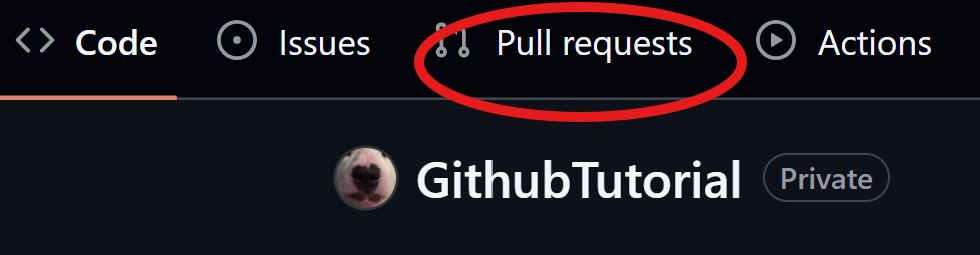
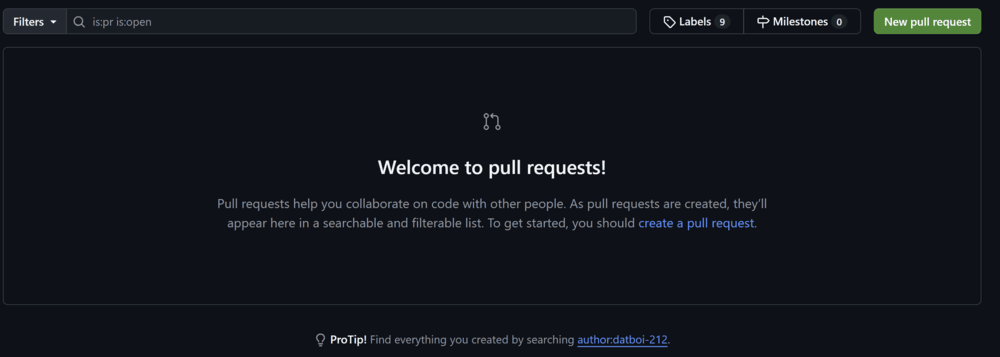
In order to create a pull request, navigate to the repository page and click on Pull Requests:
After you click on it, you will be taken to this screen where you can see all the active pull requests in the repository. For now, click "New pull request":
Next, select the branches you want to merge. In this case, we will merge main and ExampleBranch:

Once you have selected the branches, click on "Create pull request", and you will see this screen:
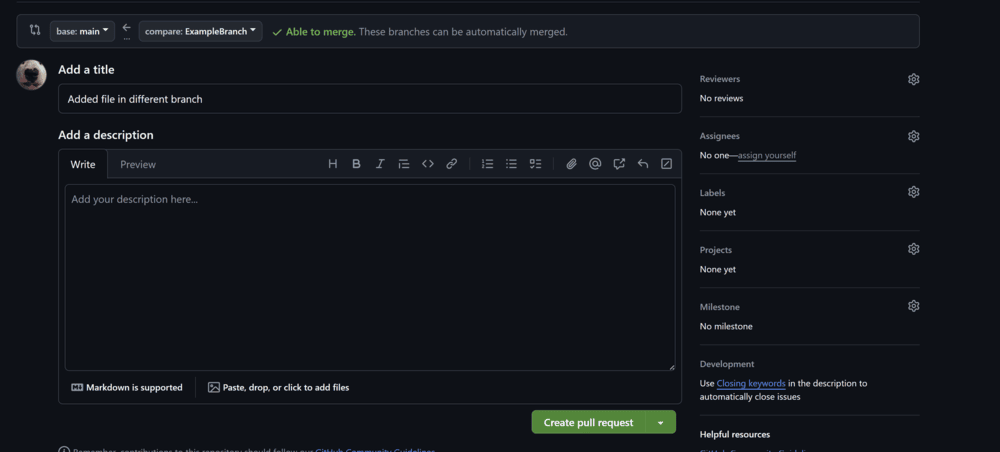
The most important parts are the title, description, and reviewers.
The title is what is happening in the pull request, and the description is a longer more detailed description of what files and lines are being changed.
The reviewers, on the right side of the tab, are the people who you want to review your changes. This makes sure that the changes are working and will not cause any merge conflicts.
To select reviewers, click on the gear icon next to it.
After you are done filling out the pull request, click on "Create pull request" for it to be created.
You won't need to know how to approve pull requests as that is what the more advanced programmers will do.
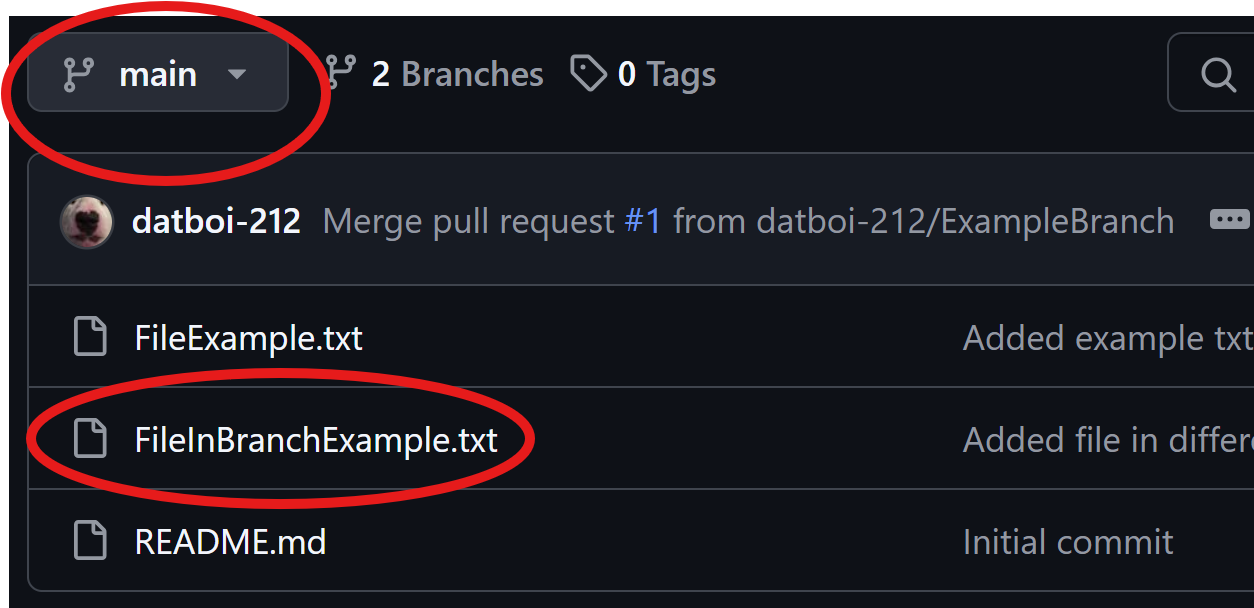
But, after the pull request is submited, an advanced programmer will review it, then merge the two branches.
After this is done, you should be able to see your files in the main branch!
Part 3 - Issues
Issues are the last thing we need to cover, but they are pretty simple.
An issue is, for the lack of better words, and issue in the code that needs to be fixed.
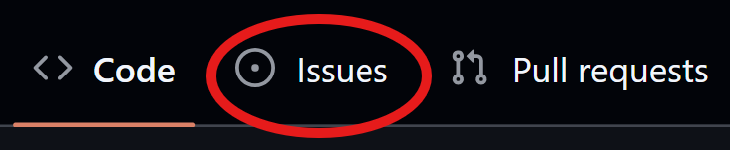
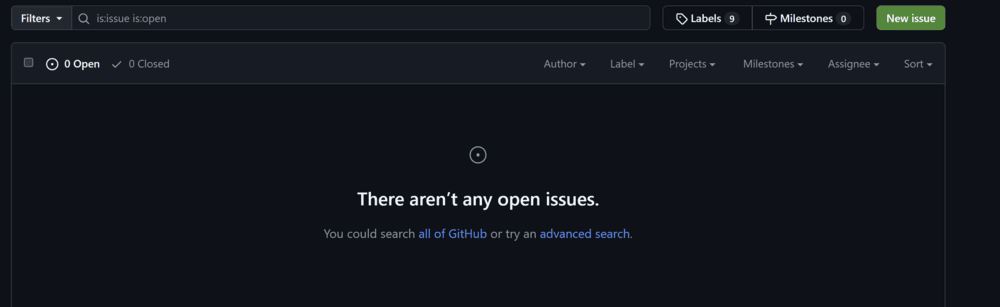
In order to make a new issue, navigate to the repository home page and click on Issues:
Once you click on the issues button, you will be taken to a screen similar to the pull request screen where you should click "New issue":
The issues screen is very similar to the pull request screen, so we won't go to in depth right now.
The most important part is the "assignees" section on the right, which is the people you want to assign to fix the issue.
Generally, if you discovered the issue, but another person was the person who coded it, you should assign the issue to that person.
To assign people to the issue, just click on the gear and it will give you a dropdown of all the people in the repository.
When you are done, click on "Create issue" - you can view all active issues by going back to the issues tab.
Inside an issue, you have the option to close it - DO NOT do this until the issue is solved.
Lesson Conclusion
All the Github things outlined in this lesson are what you will need to collaborate with other robotics members.
Feel free to come back to this page any time you are confused, or ask for help.
If you run into any issues, try and solve them yourself. This is the best way to learn how to use Github.
If the issue still pertains, let us know and we will help you.